Napoleon cake
The origin of this classic cake is a bit confusing. This cake is similar to the French cake mille-feuille but at the same time, it is different enough to name it differently. The name of the cake may refer to the origin of this region of Naples, Italy, but it is also believed that it was made in Russia in honor of the victory over Emperor Napoleon’s army in 1812. A similar cake was made already in 18th-century French pastry shops, but in modern era, it was well-known and made in homes and cafes during the Soviet period.
I found a very old Russian-language source, over a hundred years old, that gave me ideas on how this cake was made at the time. I think the recipes I used to put together my recipe for Krista’s birthday cake have been in the very right way to make a good and authentic Napoleon cake.
Making this cake was difficult for me. Not technically, but I was constantly afraid of two things that the cake would be too dry or the cake would be too wet. After all, it came as average. While writing this recipe, I slightly adjusted the amount of cream I used to assemble the cake so that it would look better on those using the recipe.
Making this cake is such a semi-meditative activity and it takes a relatively long time. I made this cake for a total of four hours before it moved to the fridge to finish.
Preparation time: 4 hours, before eating the cake should be kept at +4 C overnight
Level: average
Quantity: 16-20 slices
Ingredients:
Dough
2 eggs
200 ml of cold water
1 tablespoon 30% vinegar
0.5 teaspoons of salt
690 g of flour
400g butter
Cream
6 egg yolks
175g sugar
45 g of potato starch
750 ml of milk
230 g butter
3 heaping teaspoons vanilla sugar
Preparation:
1. Mix eggs, water and vinegar evenly
2. Chop cold or mix with flour until even
3. Add a mixture of water, eggs, and vinegar to the flour or mixture
4. Mix until smooth. Divide the dough into 11-12 equal parts, form dough into balls, and store at +4 C until you make the cake
5. Prepare the cream. To do this, mix the egg yolks with the sugar and vanilla sugar into a foam. Whisk in the starch
6. Heat the milk (do not bring to a boil) and pour the milk over the whipped cream, stirring constantly
7. Pour the mixture into a pot with a thick bottom and heat, stirring constantly from the bottom, until the cream has become the consistency of sour cream
8. Remove the cream from the heat and mix in 230 g of diced butter. Stir until smooth and silky. Cover the cream with a film to prevent milk skin and allow to cool completely
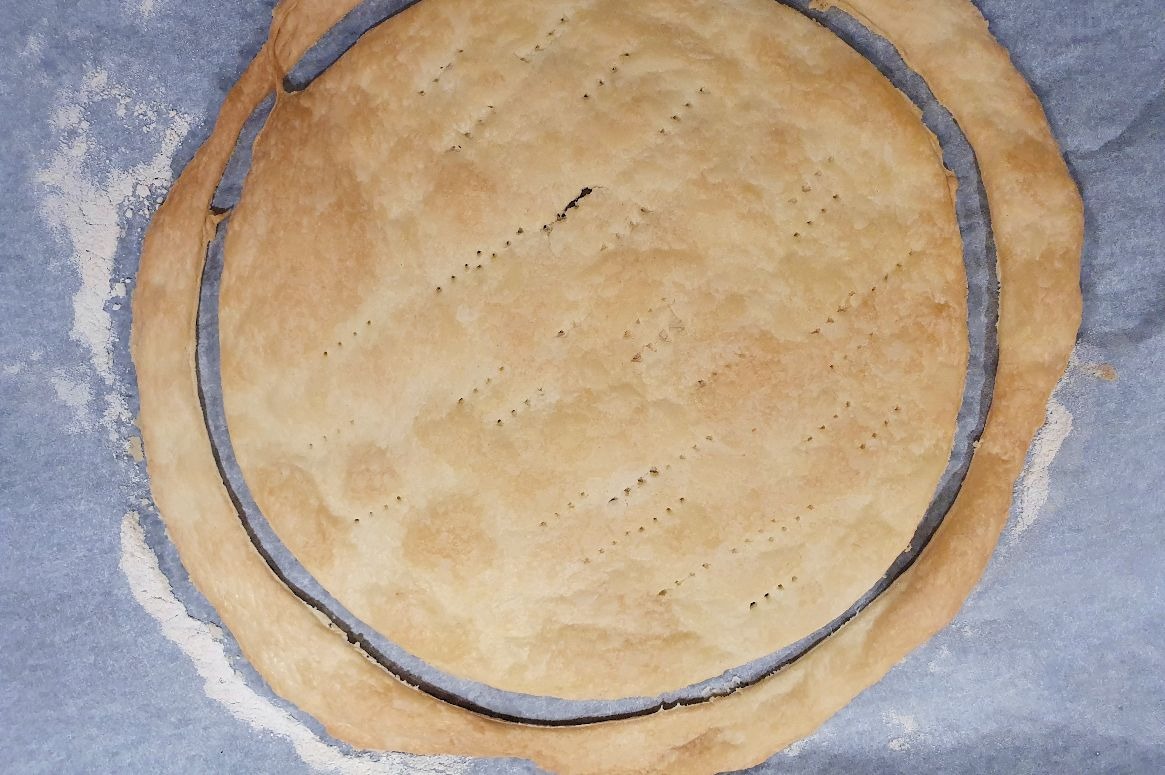
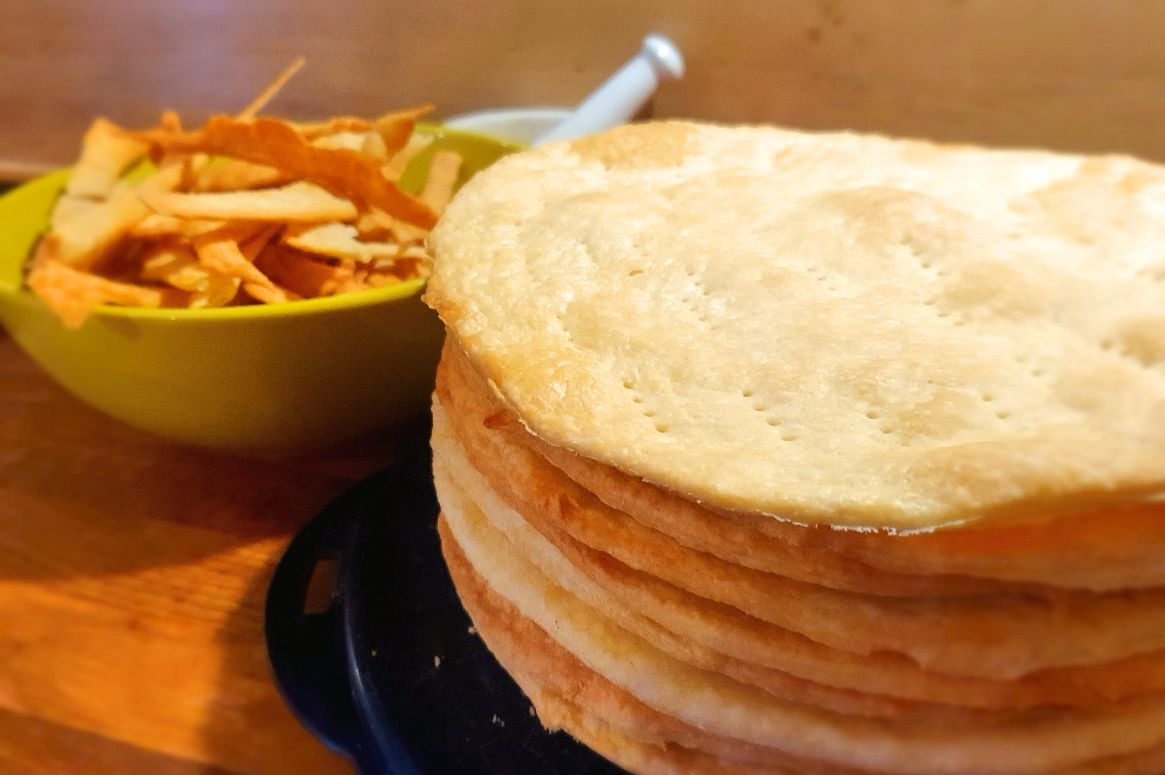
9. Bake the finished cake layers until the cream in cooling down Roll the dough thinly on baking paper and cut out a circle with the edge of a 24 cm cake tin. The “edges” outside the circle cook together with the base of the cake and are used to make the crumbs needed to decorate the cake.
10. Using baking paper place the cake layer on the oven pan, punch holes in the bottom of the cake with a fork and bake at 190 C for 15 minutes until the cake pan turns light brown
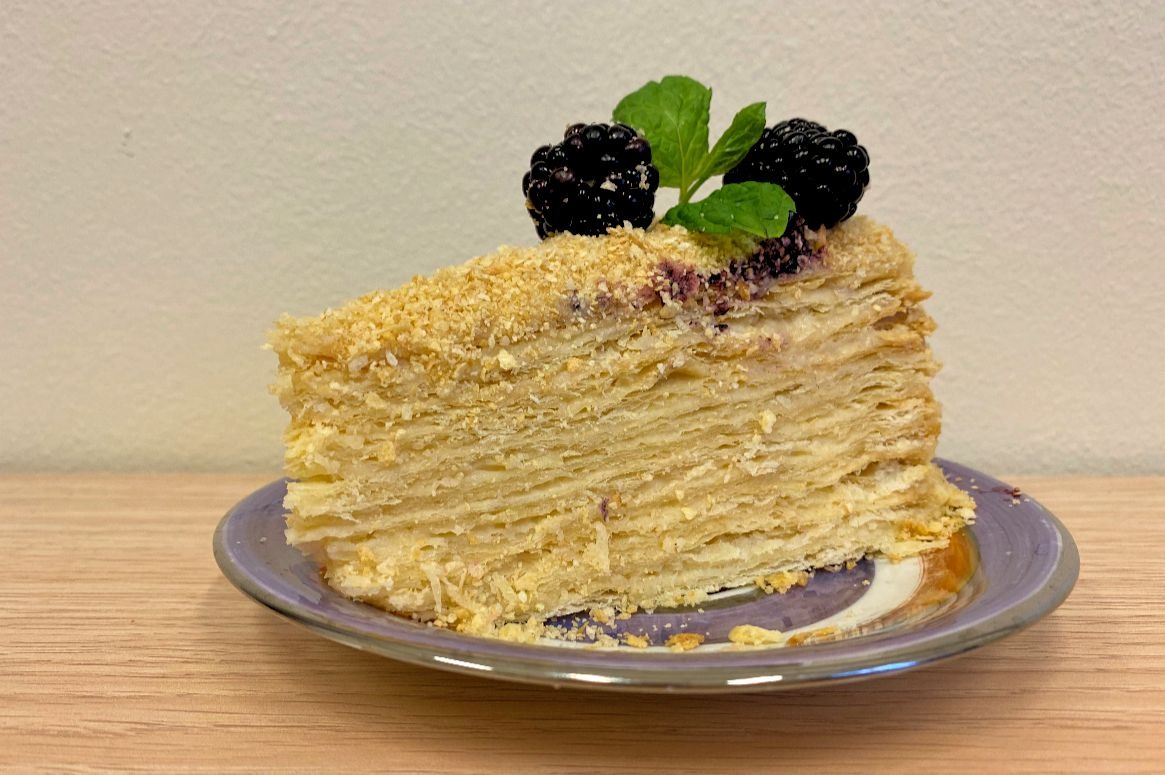
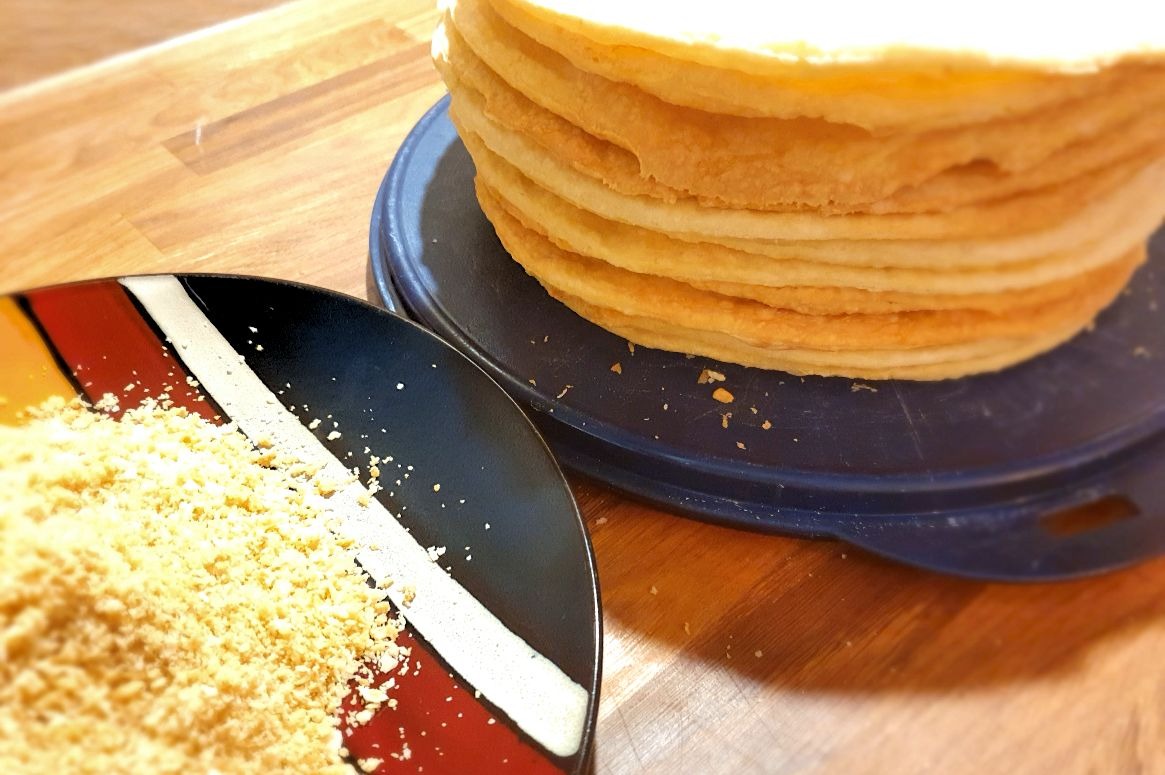
11. Bake all 11-12 cake layers. Place the finished baked cake tops on top of each other, save the edges to make the crumbs
12. When the cream has cooled and the cake layers are ready, put the cake together. Place one layer of cake base on the serving tray and cover with 4 tablespoons (3 is a little too few) of cream and place the next layer of cake base on top.
13. Continue this process until all the layers have been stacked. Cover the cake with cream on the top and sides.
14. Crush the edge pieces so that they form a coarser crumb. Cover the cake with crumbs on both sides and top.
15. Clean the edges of the serving trays and place the covered cake at +4 C to soak overnight
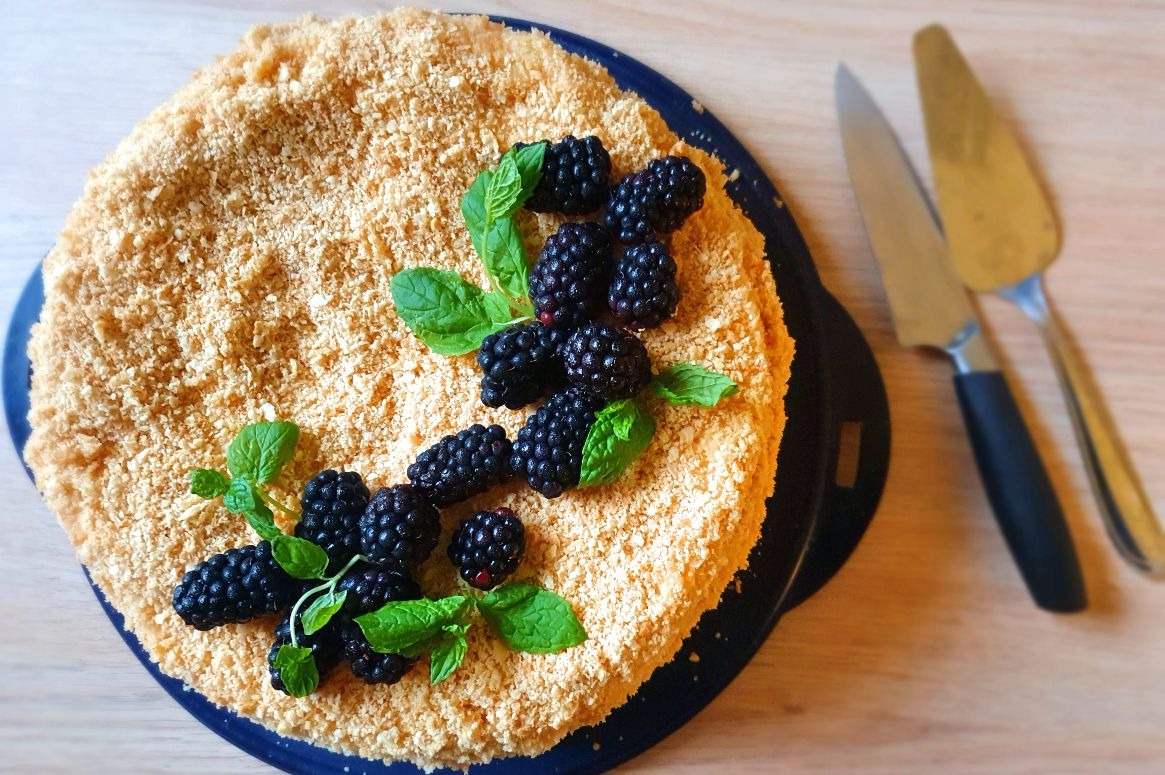
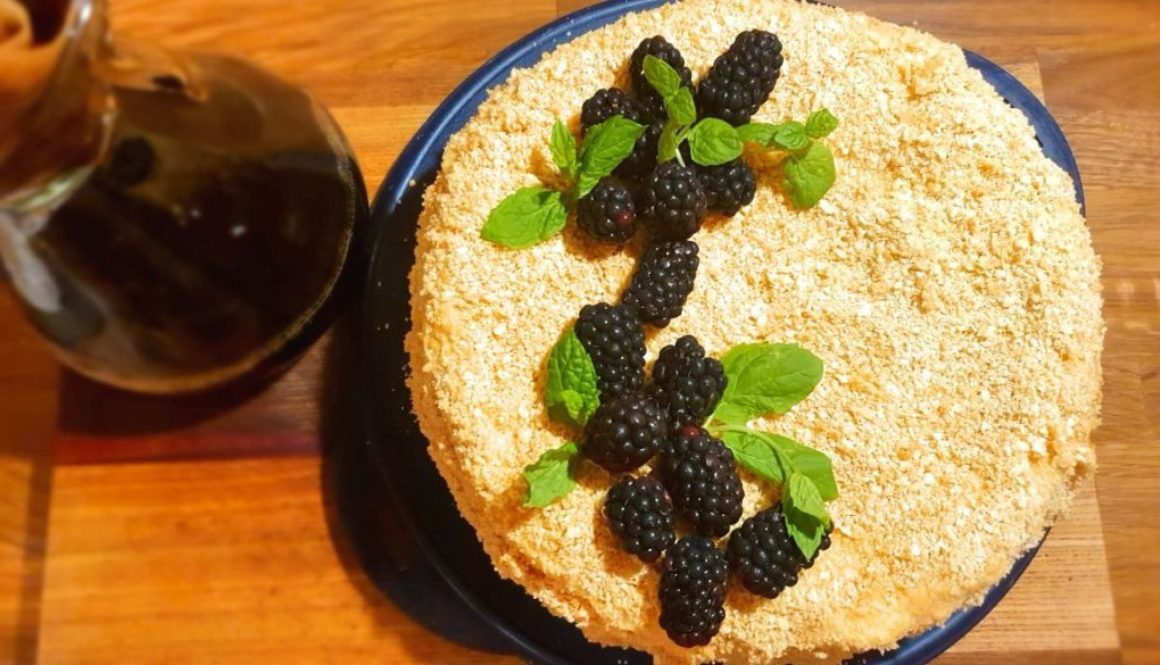
16. Decorate the cake with berries, mint, or lemon balm leaves. Serve with good coffee or tea.
Done !!!
